Inserting Images
They say a picture is worth a thousand words. And for those who prefer to say it with a few words, Zoho Show allows you to create power-packed presentations with as many images and pictures as you please.
- Right click on the current slide and click on the Add image option.
Alternatively, you can click on the  Image button on the toolbar to insert images.
- You can access images from four sources :
a. My Library: A library of sorts of all images used by you.
b. From Flickr
c. From Picasa
d. From a URL
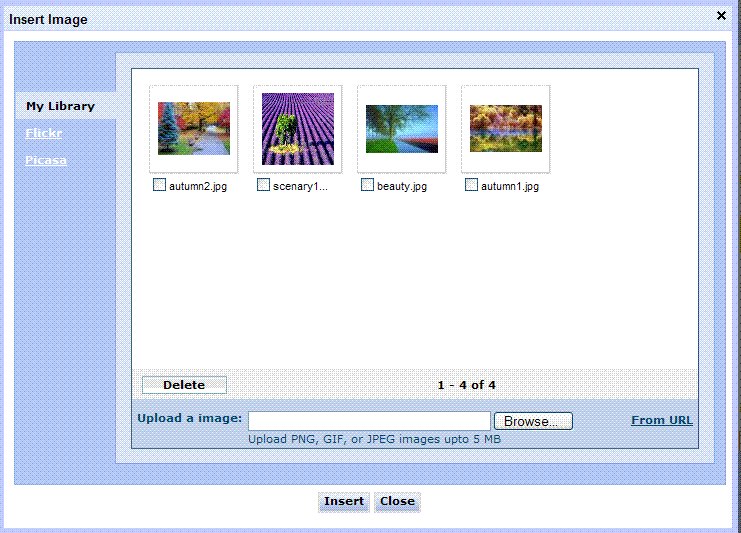
- Click on insert.
- The image now appears on the slide.
- When the image is inserted on the slide, it appears selected by default.
This is indicated by the colored dot and squares around it.

- Drag the orange circle on the top of the image to change its orientation.
- Drag the blue square in the corner of the image to alter its size.
- Use the yellow squares on the four sides of the image to stretch it in that respective direction.
You can also use the following shortcut keys to get just the right effect :
- Shift + Y : Flips shape/image on Y axis
- Shift + X : Flip shape/image on X axis
- Ctrl +M : Centers the shape/image
- Del key : Deletes a shape/text box
- Alt + Right Arrow key : Rotates shape clockwise
- Alt + Left Arrow key : Rotates shape anti clockwise
- Left/Right/Up/Down arrows : Moves Shape/Text box
- Left/Right/Up/Down arrows + shift : Finely moves Shape/Text box (one pixel at a time)
That should set you on course to creating a great presentation.
But that’s not all! We have some more great features for you. Keep reading.


 Uploading ....
